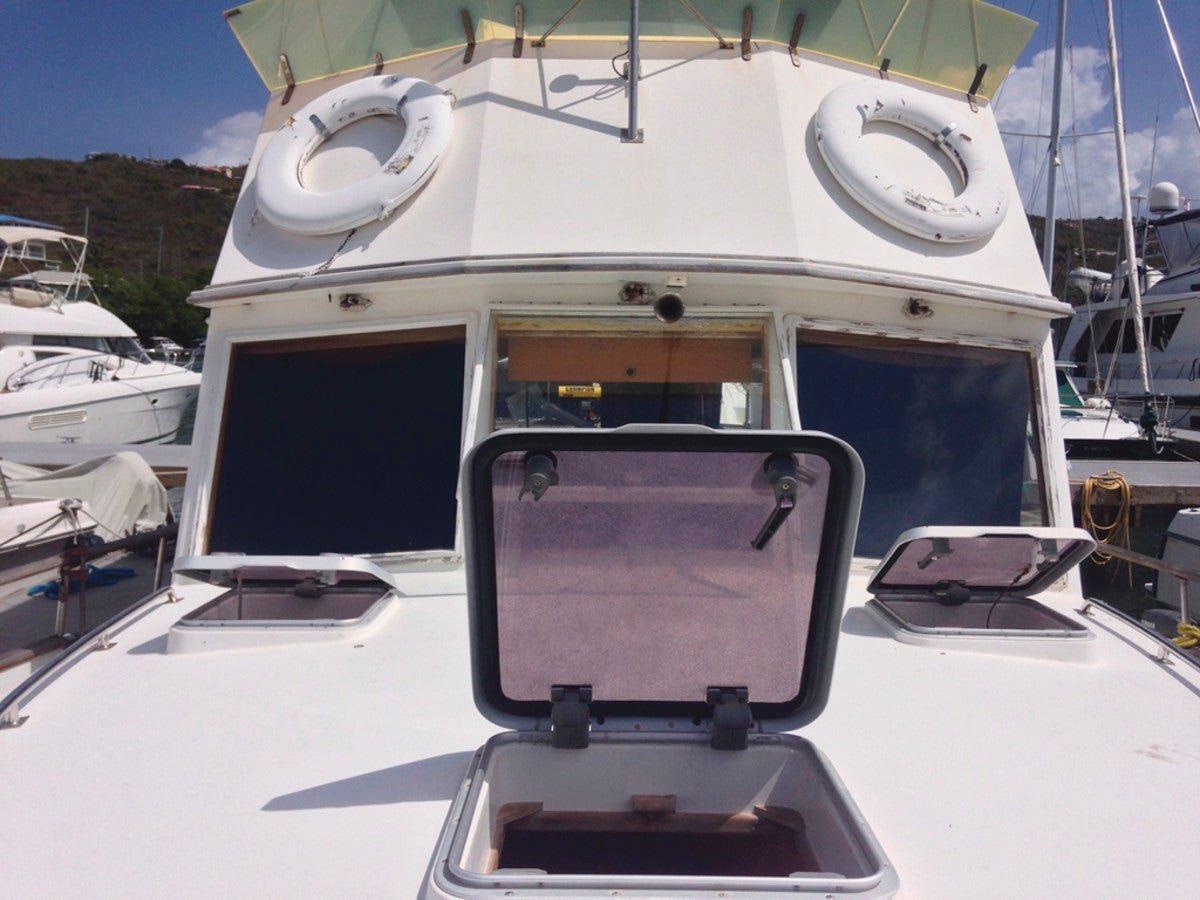
You're ready for boat season! Your fiberglass is shiny, your decals are brilliant, your chrome is so bright that it shines like the sun itself. How about those hatches? Is the Plexiglas® hatch lens cracked or clouded? Are the frames discolored? Maybe it's time to swap them out for something new.
Hatches take a beating. Their job is to keep out the elements, so that's what they're exposed to: sun, wind, weather, and waves. Plus, being set into the deck as they are, people sometimes walk on them - and in the case of plexi ventilation or escape hatches, that's not great for their longevity.
Once you've found the right hatch, installation is easy. As with any project, having the right materials and tools helps a lot.
You'll need:
- your new hatch
- sealant/caulk
- screwdriver (manual or power)
- putty knife or flathead screwdriver
- tape
- plastic sheet or garbage bag
1. Working from inside the cabin, tape some plastic over the hatch opening to keep crud from falling into the cabin.
2. Use your screwdriver to unscrew the hatch from the deck, then lift it out. Use a putty knife or flathead screwdriver to pry the hatch loose, if necessary.
3. Scrape away old sealant with the putty knife. Work carefully to avoid gouging the deck.
4. Tidy up the hatch opening: brush away dust and wipe with a damp, soft cloth. Wipe dry or allow to dry naturally.
5. Install the new hatch. Dry fit the hatch first, to be sure it's going to fit correctly. Then follow the manufacturer's directions, if you have them. If you are replacing the old hatch with the exact same model, you can simply apply your sealant, fit the hatch into the cutout, put the screws in (don't over-tighten), wipe up any squished-out sealant, and let the caulk dry.
If you are installing a hatch with a different mounting hole pattern, fill the old screw holes with epoxy and let it cure before installing the new hatch.